
Sign in and complete first-run setup
Authenticate safely, choose initial language preferences, and arrive at the workspace with a clear audio baseline.
Prepare access before opening Connect
Confirm that Connect is installed from your organization’s approved source and that you know which authentication method the account uses. Keep a supported USB headset connected before opening the app, but do not start a customer call yet. First-run setup establishes preferences; it does not replace the microphone, speaker, and call-application checks required for a complete audio route.
- Account access: have the approved email, SSO domain, or identity-provider access ready.
- Headset: connect one stable USB headset and avoid switching devices during setup.
- Calling application: keep it closed until Connect reaches the main workspace.
- Permissions: allow microphone access only when requested by the installed Connect application.
Choose the assigned sign-in method
The sign-in screen can offer Google, Microsoft, email and password, or SSO depending on the build and organization. Use the method assigned to your account rather than creating a second identity. If a provider opens a separate permission window, verify the application name and requested account before continuing, then return to Connect after authentication completes.
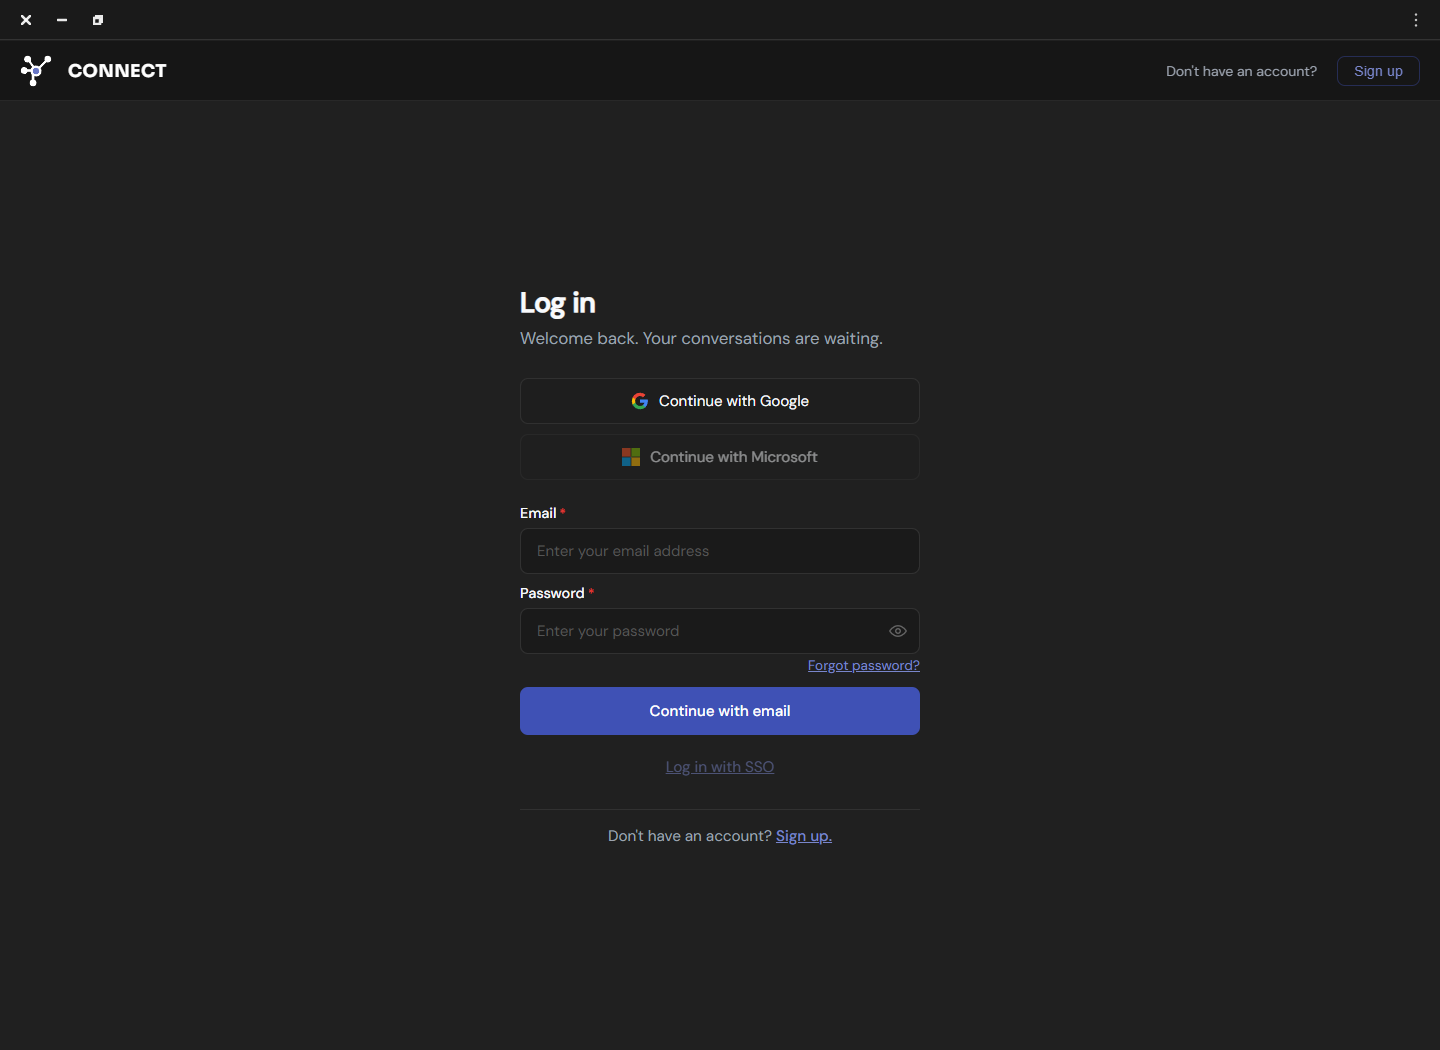
Complete the language preferences
First-run onboarding asks for the language you normally speak and the language you expect to translate. Choose the pair that best represents the first test call; it can be changed later from the workspace. If automatic language detection is available, use it only when the conversation genuinely varies and keep explicit language hints narrow enough to guide recognition.
- Speaking language: choose the language you will use most often or select automatic detection when appropriate.
- Target language: select the language the recipient should hear during the first test.
- Region: choose the closest operational region when Connect asks for one.
- Acquisition question: complete optional onboarding information without placing sensitive call content in free-text fields.
Verify the workspace before a call
After onboarding, pause on the main workspace and confirm that the selected languages match the intended test. Check the visible minute balance, choose a voice, select the physical microphone and speaker, and read the status strip. Do not interpret an inactive service message as an audio failure until a supported calling application has actually started a call.
- Run a local preview: confirm that the physical microphone captures a clean, steady voice.
- Open the calling app: select the Connect virtual devices required by the translation direction.
- Place a short call: verify outgoing and, when needed, incoming translated audio.
- Save the baseline: note the working languages, route, devices, and mode before adding enhancements.
Frequently asked questions
These answers clarify the decisions that most often affect this workflow. Keep the working microphone, speaker, language pair, and call route unchanged while testing a feature, and return to the simplest verified baseline whenever several simultaneous changes make the result difficult to explain.
Can I use a different sign-in method?
Use only a method linked to the same provisioned account. If the organization assigned SSO, signing in with a personal provider can create an unrelated account or fail.
Can I change onboarding languages later?
Yes. The main workspace lets you change the language pair and translation direction before a session. Re-run a short test after changing either language.
Why does Connect show inactive service?
The service can remain inactive before a supported calling application starts a call. Check the call application and route before treating the message as a failure.
What should I capture if sign-in fails?
Record the chosen method, exact error, time, operating system, Connect version, and whether the account works in the Portal. Never include a password or one-time code.
Support
Need help? Get in touch with our Support Team for assistance. Include the feature, operating system, calling application, selected microphone and speaker, language direction, and the exact step that failed. Describe the expected result and what happened instead without including passwords, private call content, or unnecessary personal data.
Was this article helpful?