
Connect tutorials
Learn the complete product from sign-in to a validated live call, then configure reusable voice, language, transcription, and account tools with confidence.
Choose the workflow you need
The library follows the application’s real structure: access and onboarding, the live workspace, reusable Portal resources, transcription, and persistent account settings. Start with the earliest uncertain part of your workflow, preserve a working audio baseline, and use the validation criteria in each tutorial before moving to the next feature.
Tour the Connect workspace
Learn where translation, audio, transcription, voice, account, and support controls live before your first production call.
Sign in and complete first-run setup
Authenticate safely, choose initial language preferences, and arrive at the workspace with a clear audio baseline.
Configure conversation flow
Match languages, direction, processing behavior, hints, voice, and audio devices to the people in the call.
Create a clean voiceprint
Capture a short, representative sample and validate that the generated voice remains clear, natural, and appropriate.
Create a voice variant
Build a target-language version from an existing voice while keeping naming, dialect, and validation easy to understand.
Add context for specialized calls
Give Connect a focused description of the topic, roles, names, and vocabulary it should expect before a conversation.
Build a pronunciation dictionary
Correct recurring names, brands, acronyms, medications, and specialist terms without overloading ordinary speech.
Use transcription and speaker labeling
Understand live transcript behavior, identify speakers carefully, and review saved sessions without confusing recognition with generated voice.
Review minutes and persistent settings
Understand plan and purchased balances, usage estimates, profile preferences, transcription saving, and high-impact recovery controls.
Learn Connect in a controlled order
A reliable call begins with access, physical devices, and a simple language route. Optional intelligence should be added only after that route works. This order keeps authentication, capture, recognition, translation, voice generation, and output routing separate enough to diagnose, while still giving advanced users a direct path to the feature they need.
- Orient: tour the workspace and identify live controls versus reusable Portal tools.
- Authenticate: complete first-run setup with the assigned sign-in method and language preferences.
- Route: configure conversation flow and validate one direction at a time.
- Personalize: add a voiceprint, variant, context profile, or dictionary only when it solves a demonstrated need.
- Review: validate transcription, speaker labels, minutes, and persistent profile settings.
Use screenshots as orientation, not proof
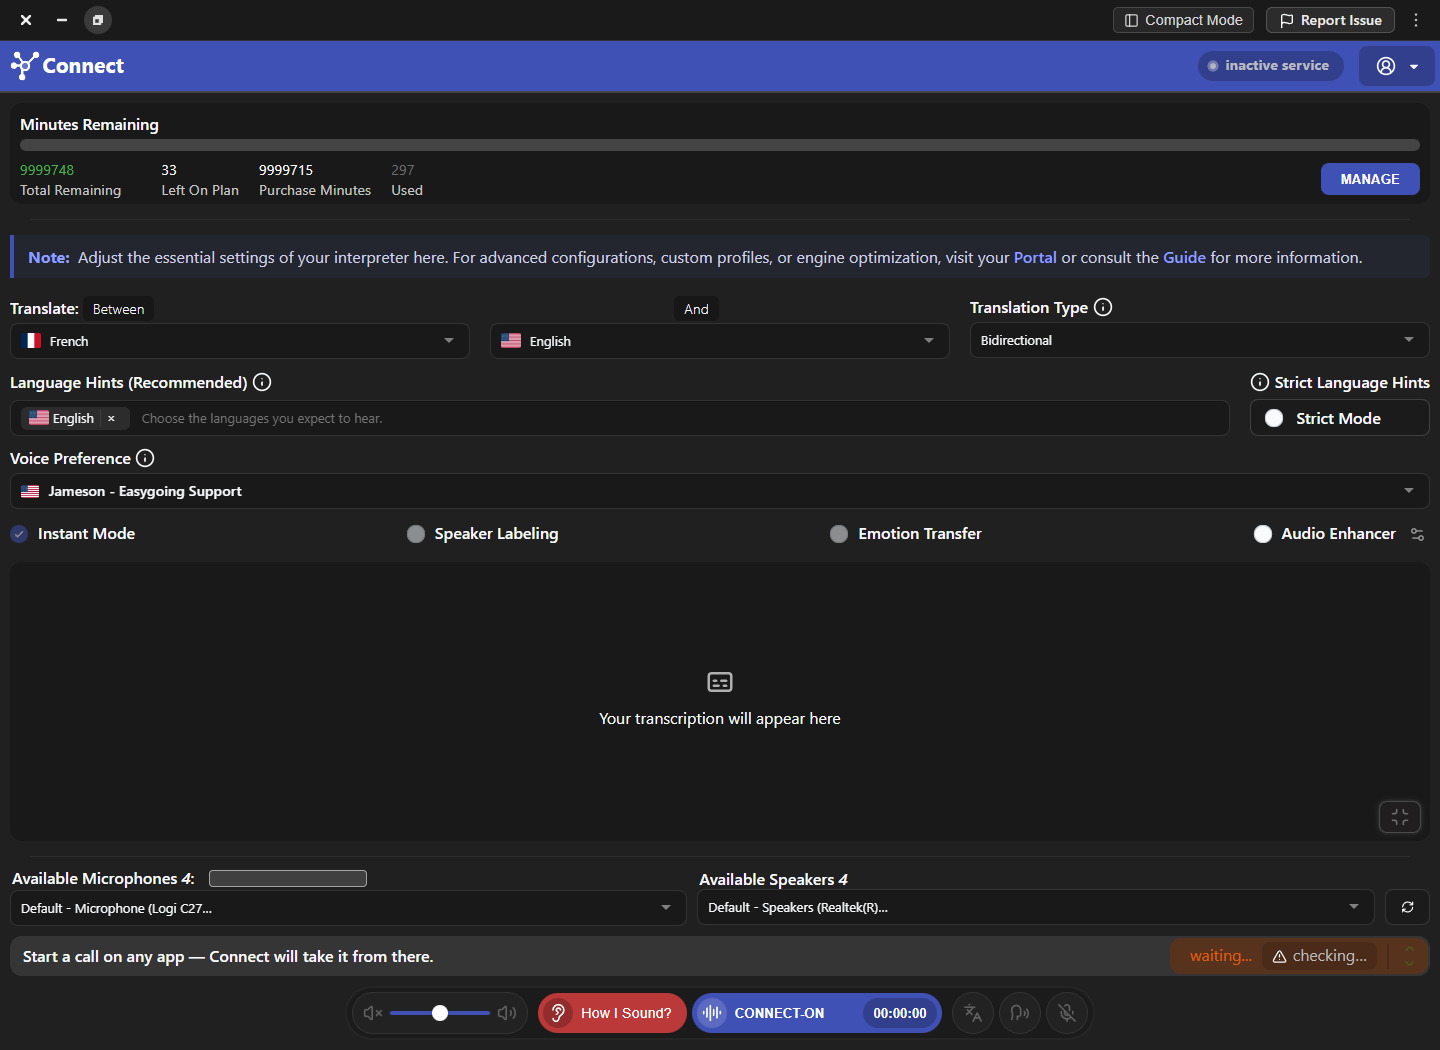
The screenshots were captured from a running Connect desktop build in an isolated observation profile. They show where controls were located on September 6, 2026, but plans, permissions, updates, and operating systems can change what appears. Follow the labels in your installed version and rely on the observed call result—not a screenshot alone—when validating a configuration.
Frequently asked questions
These answers explain how the tutorial library relates to setup, troubleshooting, plan availability, and application updates. Use the shortest guide that matches the current decision, and return to the verified baseline whenever a feature change makes the call result harder to explain.
Which tutorial should I complete first?
Start with Tour the Connect workspace, then Configure conversation flow. Add voice, context, pronunciation, transcription, or account features only after a short baseline call works.
Do tutorials replace the setup guide?
No. Getting Started covers installation, permissions, physical devices, and virtual routing. Tutorials focus on how individual Connect features behave after that baseline works.
Why should I change only one setting at a time?
A controlled comparison shows which change affected clarity, timing, recognition, pronunciation, or routing. Several simultaneous changes hide the real cause.
Are every feature and screen available to every user?
No. Plans, account roles, administrator policy, operating system, and application version can change which controls appear.
Support
Need help? Get in touch with our Support Team for assistance. Include the feature, operating system, calling application, selected microphone and speaker, language direction, and the exact step that failed. Describe the expected result and what happened instead without including passwords, private call content, or unnecessary personal data.
Was this article helpful?